
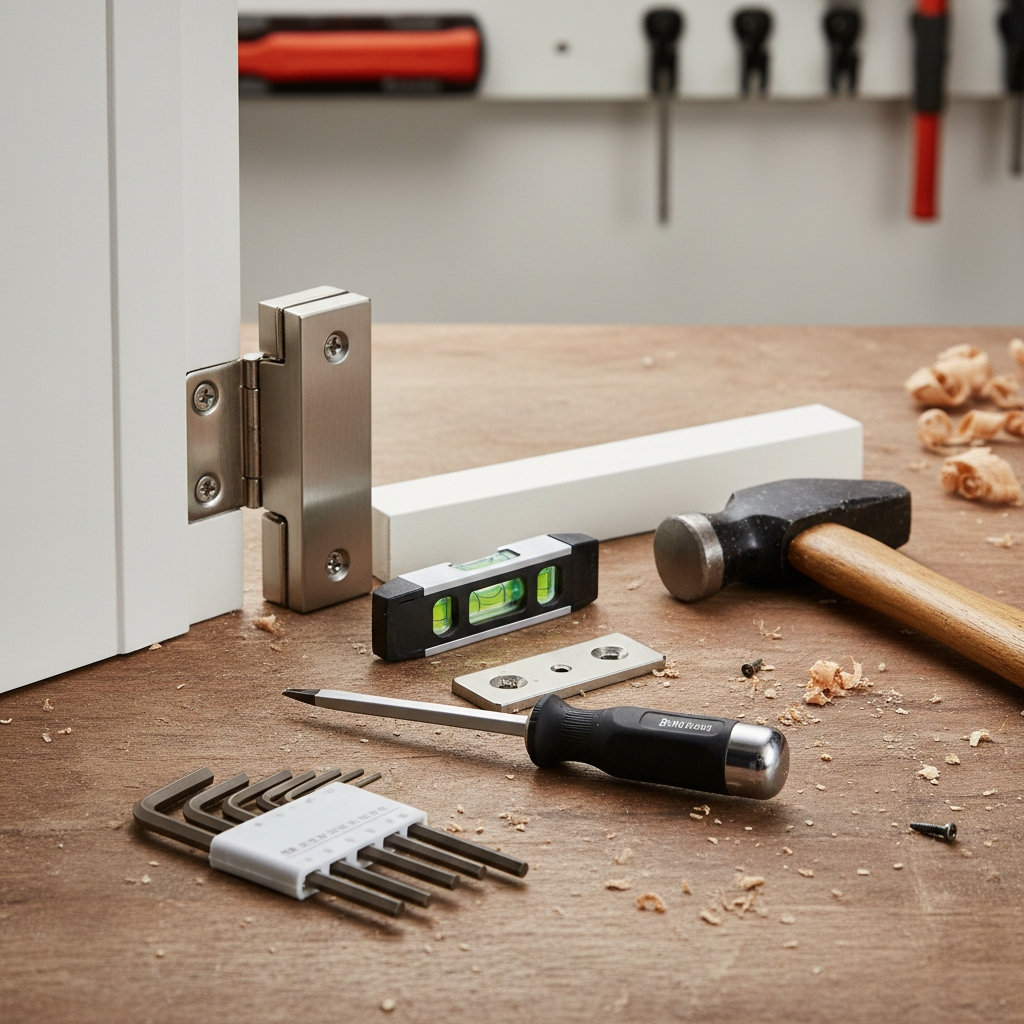
A door that won’t close properly, sticks against the frame, or makes a rubbing sound often has misaligned hinges. This is a common issue in homes and apartments and usually develops over time as hinges loosen, screws shift, or the door frame settles slightly.
Thank you for reading this post, don't forget to subscribe!Fortunately, fixing door alignment does not require professional tools or advanced carpentry skills. With a few simple adjustments and the right tools, most homeowners and renters can correct hinge alignment in just a few minutes.
In this beginner-friendly guide, we’ll explain how door hinges become misaligned, the best tools to adjust door hinges for proper alignment, and simple steps you can follow to restore smooth door operation.
Whether you’re dealing with a sagging door, uneven gaps, or hinges that have loosened over time, these tools can help you make quick and effective adjustments.
Signs Your Hinges Need Adjustment
Your hinges may be the problem if:
- The door rubs at the top
- The latch does not line up
- The door swings open by itself
- Squeaking or Grinding Sounds
- The door drags on the floor
If your door won’t close properly, start here:
[How to Fix a Door That Won’t Close Properly]
If your issue happens mostly in humid weather, see:
[How to Fix a Door That Sticks in Humid Weather]
Step 1: Tighten All Screws
Loose screws are one of the most common causes of door sagging.
Over time, normal door movement can cause hinge screws to loosen slightly, which affects alignment.
Tools you may need:
- Magnetic screwdriver set
- Cordless drill (optional)
What to do
- Open the door fully.
- Tighten every hinge screw.
- Replace stripped screws with longer screws if needed.
- Test the door to see if alignment improves.
In many cases, this simple step solves the problem.
Step 2: Use a Longer Screw in the Top Hinge
If the top corner of the door rubs the frame, the door may be sagging slightly.
Replacing one hinge screw with a longer screw can pull the door frame tighter and correct alignment.
Tools you may need:
What to do
- Remove one screw from the top hinge.
- Insert a 3-inch wood screw in its place.
- Tighten the screw firmly into the wall stud behind the frame.
- Test the door.
This often corrects sagging immediately.
Step 3: Fix Stripped Screw Holes
If the screw holes are stripped, the screws will not hold tightly.
A hinge repair kit can reinforce the wood and give the screws something solid to grip.
Tools you may need:
What to do:
- Remove the loose screw.
- Insert the repair insert or plug.
- Reinstall the screw.
- Tighten firmly.
- Test the door.
This strengthens the hinge without replacing the frame.
Step 4: Add a Hinge Shim (If Needed)
If the door still does not align correctly, you may need to adjust the hinge position.
Tools you may need:
- Hinge shim
- Thin cardboard (temporary)
What to do:
- Remove the hinge.
- Place the shim behind the hinge plate.
- Reinstall the hinge.
- Test the door.
Small changes make a big difference.
Step 5: Replace Damaged Hinges
If the hinges are bent, cracked, or worn out, replace them.
Install one hinge at a time to keep the door stable.
Tools you may need
• Replacement door hinges
• Screwdriver
FAQs About Adjusting Door Hinges
What tool do I need to adjust door hinges?
A standard Phillips screwdriver works for most interior hinges. A cordless drill with adjustable torque can make the process faster.
Can loose hinge screws cause a door to sag?
Yes. Loose screws are one of the most common causes of door misalignment.
Do I need to replace hinges to fix alignment?
Not usually. Most alignment issues can be corrected by tightening screws or adjusting hinge position.
What size screws are used for door hinges?
Most interior hinges use #8 screws between 1–3 inches depending on placement.
Final Thoughts
Most door alignment problems are actually hinge problems.
Start by tightening the screws.
Adjust slowly and test often.
In many cases, you can restore proper door alignment in just a few minutes without replacing the door.
Disclaimer: This article is for informational purposes only. Always use proper safety precautions and consult a qualified professional when necessary.